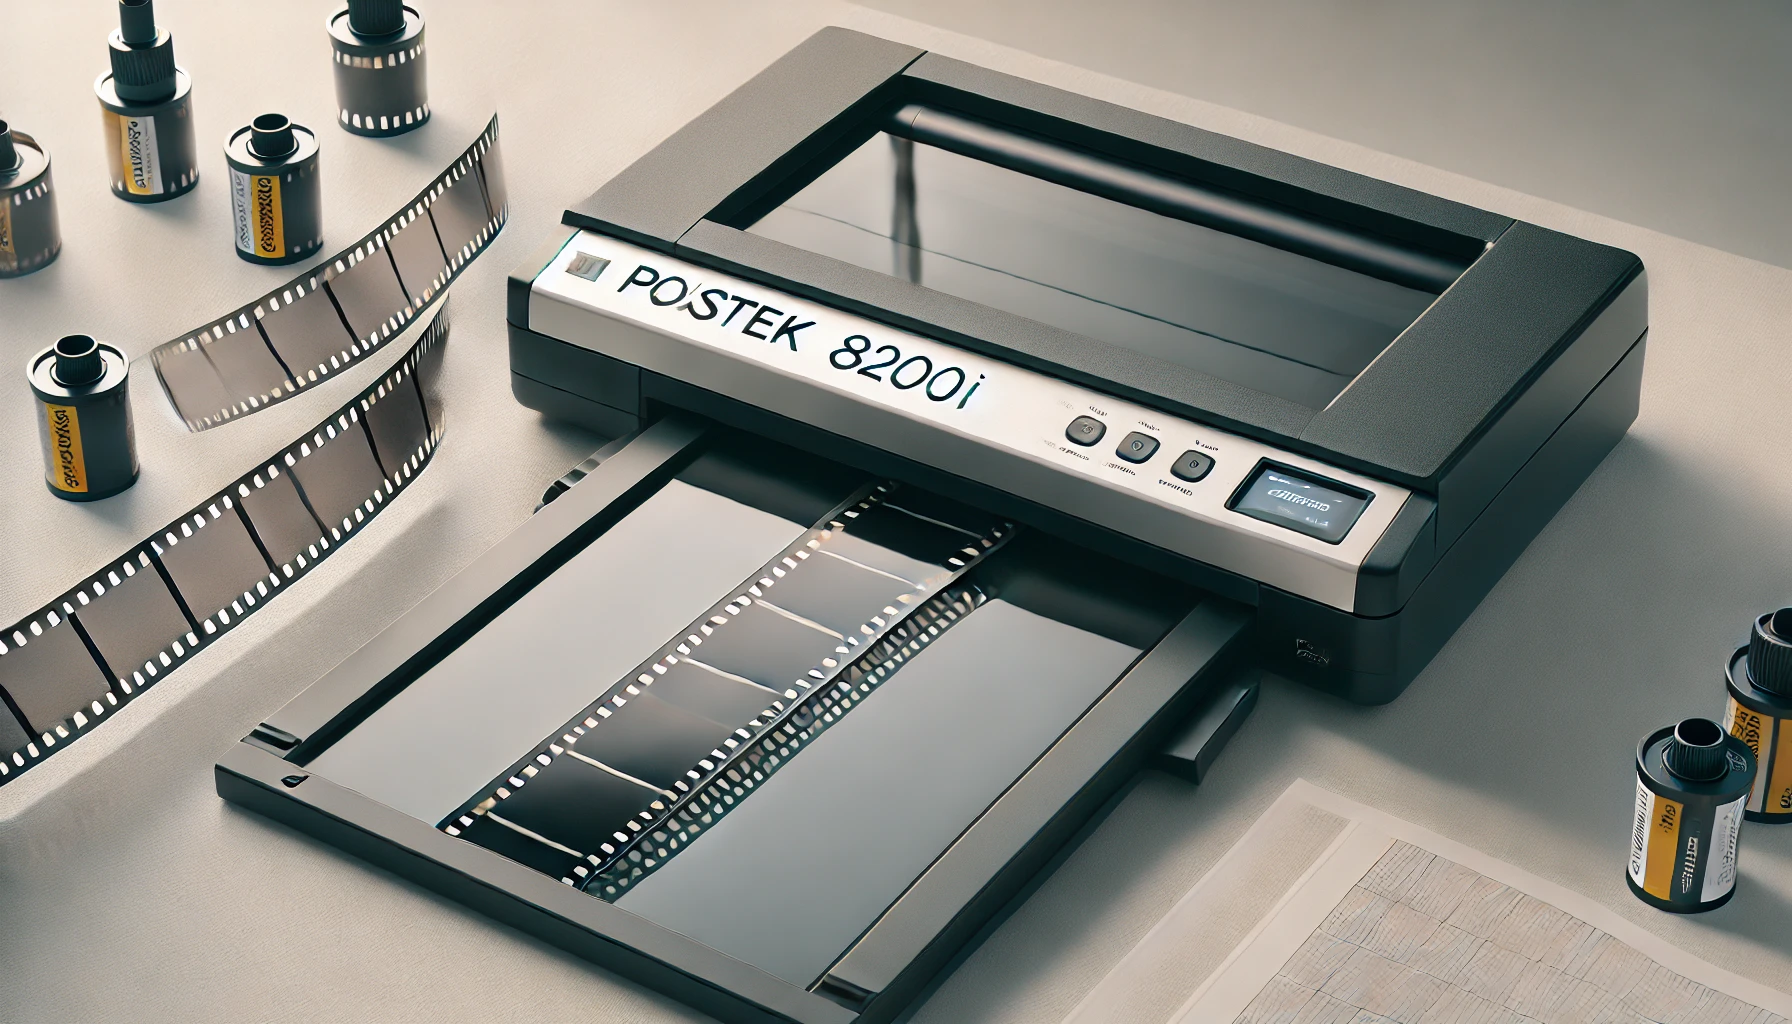
The Plustek 8200i is a powerful scanner designed for high-quality film scanning, making it a favorite among analog photography enthusiasts. However, scanning half-frame film can present unique challenges due to its smaller frame size and specific alignment requirements. Half-frame photography, which doubles the number of images per roll, is cherished for its vintage aesthetic and economical appeal. This guide will walk you through the steps to effectively How To Scan Half Frames in Plustek 8200i, ensuring optimal image quality while preserving the charm of your analog photos.
Understanding Half-Frame Film
The half-frame film refers to a format of 35mm photography in which each frame is half the size of a standard full-frame negative. Instead of the typical 24mm x 36mm dimensions, half-frame negatives measure 24mm x 18mm, effectively doubling the number of exposures on a roll of film. For example, a 36-exposure roll can yield 72 images in a half-frame format.
This format gained popularity in the mid-20th century due to its cost-effectiveness and compact cameras, such as the Olympus PEN series, which offered photographers more shots without compromising image quality. Half-frame photography is renowned for its unique aesthetic, often showcasing diptychs or sequential storytelling within its smaller frames.
However, the reduced size of each frame requires precise scanning techniques to capture all the details without compromising resolution. Scanning half-frame film, particularly with a device like the Plustek 8200i, involves extra attention to alignment, cropping, and resolution settings to ensure each image is preserved at its best.
Preparing the Plustek 8200i for Scanning
Proper preparation is essential for high-quality scans when using the Plustek 8200i for half-frame film. This involves gathering the right tools, setting up the scanner, and ensuring the film is clean and correctly aligned.
Essential Equipment and Software
- Ensure you have the Plustek 8200i scanner, its film holders, and the SilverFast scanning software installed on your computer.
- Verify that your SilverFast version supports manual frame adjustments, crucial for scanning half-frame negatives.
Cleaning the Scanner and Film
- Use a soft, lint-free cloth or an anti-static brush to clean the scanner bed and film holders.
- Gently clean the film negatives with an anti-static cloth or a dedicated film cleaning solution to remove dust and smudges.
Preparing the Film Holder
- Load the half-frame negatives into the 35mm film holder, ensuring they are properly aligned.
- Centre the negatives within the holder slots to prevent cropping or misalignment during the scan.
Scanner Setup
- Power on the Plustek 8200i and ensure it is connected to your computer via USB.
- Open the SilverFast software and select the appropriate scanning mode (e.g., positive, negative, or black-and-white, depending on your film type).
Test Alignment and Preview
- Conduct a quick preview scan to check the alignment of your negatives within the frame.
- Adjust the holder or scanner settings as necessary to ensure each half-frame is isolated for scanning.
Step-by-Step Guide How To Scan Half Frames in Plustek 8200i
To effectively scan half-frame negatives using the Plustek 8200i, follow this detailed process to ensure each frame is properly captured and optimized:
Loading the Half-Frame Film
- Place your half-frame negatives into the film holder designed for 35mm film.
- Align each frame carefully within the slots to avoid miscropping. For half-frames, position the negatives so that the dividing line between frames is centred in the holder.
- Secure the holder to prevent movement during scanning.
Configuring Scanner Settings
- Launch the SilverFast software and select the appropriate scanning mode (e.g., negative or positive, depending on your film type).
- Choose a high resolution (at least 2400 DPI) to ensure that the smaller half-frame format retains its detail.
- Enable features like multi-exposure (if available) to enhance dynamic range and reduce noise.
Adjusting for Half-Frame Size
- Use SilverFast’s frame alignment tool to isolate a single half-frame from the negative strip.
- Manually crop the frame using the preview window to capture the exact dimensions of the 24mm x 18mm half-frame.
- Save these settings as a preset to streamline future scans of half-frame negatives.
Preview and Refinement
- Perform a preview scan to verify alignment and exposure.
- Adjust brightness, contrast, and colour balance within the software. For colour negatives, use SilverFast’s NegaFix feature to apply colour correction profiles.
Final Scan
- Start the final scan, ensuring all settings are correctly applied.
- Save the scanned images in your preferred format, such as TIFF for editing or JPEG for quick sharing.
- Label and organize files to distinguish between individual half-frames.
Troubleshooting Common Issues
| Issue | Cause | Solution |
| Misaligned Frames | Negatives not properly aligned in the film holder. | 1. Recheck the alignment in the holder. 2. Use manual cropping tools in SilverFast. 3. Save cropping presets. |
| Dust or Scratches on Scans | Dust, fingerprints, or scratches on the negatives or scanner. | 1. Clean the scanner bed, holder, and negatives with anti-static tools. 2. Use iSRD in SilverFast for removal. 3. Retouch severe scratches in post-processing. |
| Color Inconsistencies | Incorrect film type settings or poor white balance. | 1. Select the correct film type in NegaFix. 2. Adjust the white balance in the preview. 3. Use auto-correction or manual tweaks for colour adjustments. |
| Blurry or Pixelated Images | Low resolution or film not lying flat. | 1. Scan at a higher resolution (2400+ DPI). 2. Ensure negatives are flat and secure. 3. Use multi-exposure for enhanced sharpness. |
| Uneven Exposure or Shadows | Poor dynamic range settings or improper lighting in negatives. | 1. Adjust histogram and dynamic range in SilverFast. 2. Use the Densitometer tool for fine-tuning. 3. Re-scan with updated settings. |
| Software Crashes or Freezes | Outdated software or insufficient system resources. | 1. Update SilverFast and scanner drivers. 2. Free up computer resources by closing other programs. 3. Restart scanner and software. |
Post-Processing Tips for Half-Frame Scans
| Step | Description | Recommended Tools |
| 1. Cropping and Alignment | Ensure the scanned images are cropped to the correct dimensions and aligned properly. | Photoshop, Lightroom, GIMP |
| 2. Color Correction | Adjust colors to match the original film’s tone. Use white balance tools to eliminate unwanted tints. | Adjust colours to match the original film’s tone. Use white balance tools to eliminate unwanted tints. |
| 3. Sharpening | Apply sharpening to enhance fine details lost during scanning. | Photoshop (Unsharp Mask), Lightroom (Detail Panel) |
| 4. Noise Reduction | Remove noise, especially in dark areas, to achieve a cleaner image. | Lightroom, Topaz DeNoise, Photoshop |
| 5. Spot Removal | Use spot removal tools to fix dust or scratches missed during scanning. | Photoshop (Spot Healing), Lightroom (Spot Removal) |
| 6. Brightness and Contrast | Fine-tune brightness, contrast, and shadows to balance the exposure across the frame. | Lightroom, Photoshop |
| 7. Batch Editing | For multiple frames, apply consistent adjustments to save time. | Lightroom, Capture One |
| 8. File Format and Compression | Save images in a suitable format: TIFF for editing, JPEG for sharing. Adjust compression to preserve quality. | Photoshop, GIMP |
| 9. Organizing and Archiving | Label each frame and organize files into folders for easy access. Backup to cloud storage. | File Explorer, Google Drive, Dropbox |
Additional Tips:
- Work with non-destructive editing software to preserve original scans.
- Consider creating black-and-white versions for artistic effects if your film supports it.
- Always save a master copy of the image before applying any heavy edits.
Importance of Proper Scanning Techniques
Proper scanning techniques are crucial for preserving the quality, detail, and authenticity of your half-frame negatives. Half-frame images are smaller than standard 35mm frames, making precise alignment, resolution settings, and colour adjustments vital to prevent loss of detail or distortion.
Correct scanning ensures that the images retain their original sharpness, color balance, and dynamic range, which are essential for both digital archiving and artistic presentations. Additionally, well-executed scans minimize post-processing efforts and protect the negatives from unnecessary handling.
By mastering scanning techniques, you can showcase the unique charm of half-frame photography while maintaining professional-quality results.
FAQs
How long does it take to scan with plustek opticfilm 8200i?
The scanning time with the Plustek OpticFilm 8200i typically ranges from 2 to 5 minutes per frame, depending on the resolution and scan settings. Higher resolutions or multi-exposure scans may take longer.
Can I scan negatives and slides with the same scanner?
Yes, the Plustek OpticFilm 8200i can scan both negatives and slides. It comes with interchangeable film holders designed for 35mm film strips (negatives) and mounted 35mm slides. You just need to select the appropriate holder and adjust the settings in the scanning software (like SilverFast) to match the type of film you’re scanning.
What storage solutions are recommended for scanned images?
Recommended storage solutions for scanned images include external hard drives, cloud storage, NAS, SSDs, DVDs/Blu-ray discs, and RAID arrays for reliable, secure backup and easy access.
Conclusion
Scanning half-frame negatives with the Plustek OpticFilm 8200i can be a rewarding process, preserving the unique charm and detail of analog photography. By following proper scanning techniques, ensuring accurate alignment, and employing effective post-processing methods, you can achieve high-quality digital images that maintain the integrity of your film. Whether you are archiving your personal collection or sharing your work, using the right storage solutions and keeping your files organized will ensure your half-frame scans are safely preserved for years to come.


